PrivateRouter's remote vpn service can run as a system service on any Linux OS. In this post we will explain how to run the installer from the Linux command line using our Github install script.
*This tutorial is for the DIY user who is setting it up on their own device. If you purchased a pre-configured remote VPN server from PrivateRouter please use the pre-installed device tutorial.*
The script will install docker, Wireguard, wg-easy, pihole, privaterouter-frpc and nginx proxy manager.
First, make sure to purchase our remote VPN service plan and note the IP address and token in your activation email.
Next, run the install script and replace your IP address, token, and domain address with the information supplied in your service activation email.
curl https://raw.githubusercontent.com/PrivateRouter-LLC/wireguard-remotevpn/main/rvpn-install.sh | bash -s -- -s 123.456.789.012 -t tokenabc123 -d myvpn.privaterouter.cloud
Wait a few minutes for everything to install and make sure to note the wg-easy password and pi-hole password provided after the install is completed. These passwords are randomized with each install. You will be provided the passwords after this message:
** The install and setup completed successfully **
The last step is to configure nginx proxy manager and setup SSL
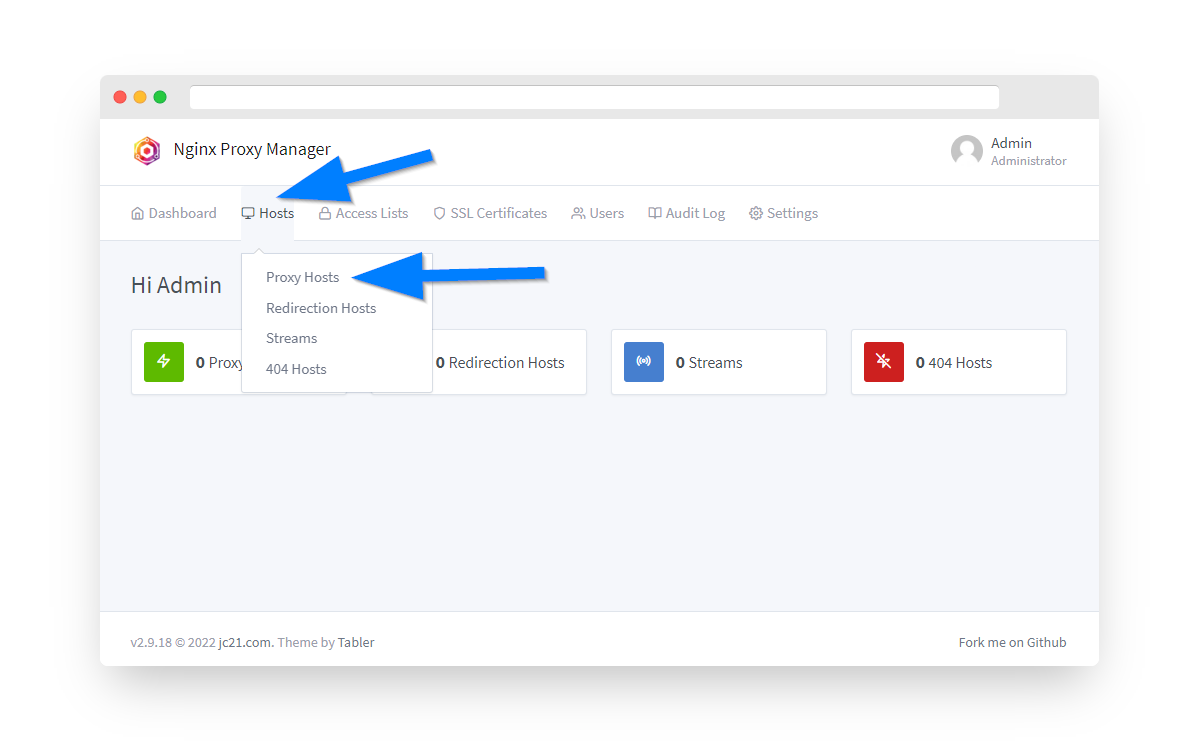
To access Nginx Proxy Manager open a web browser and navigate to your local web hosting IP address or hostname on port 81. Once you are logged in click the Hosts menu option then select "Proxy Hosts".
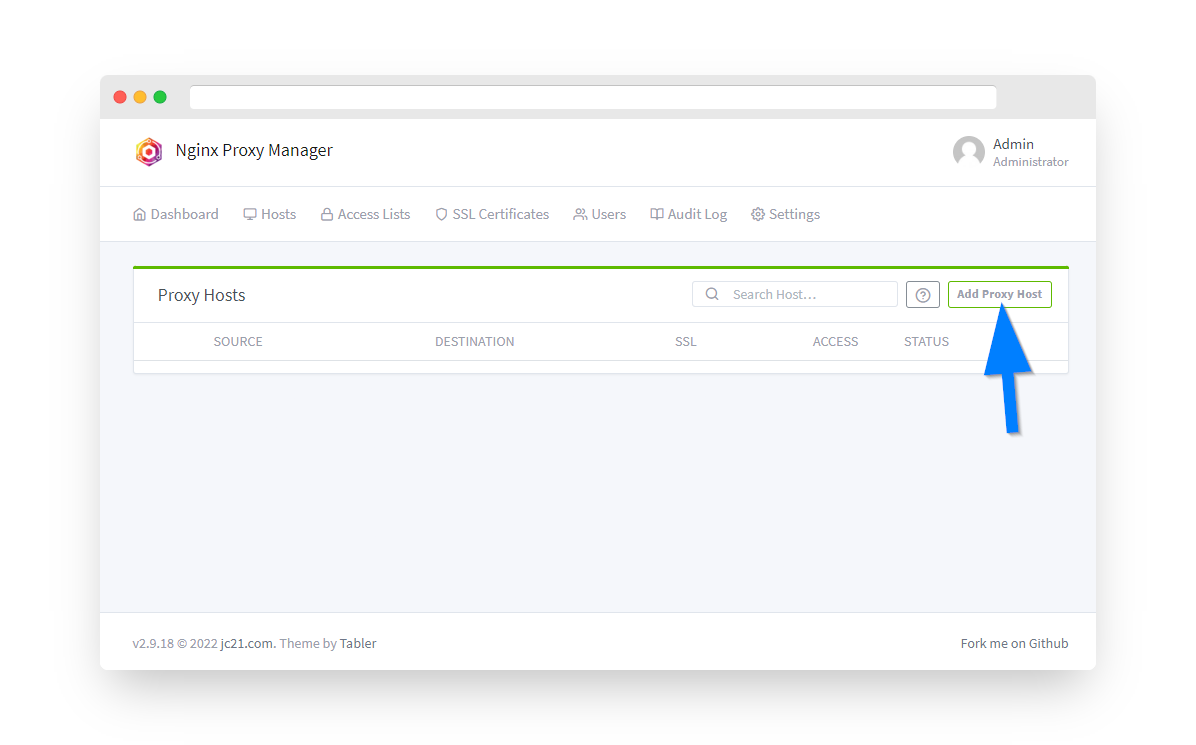
Click the Add proxy host button:
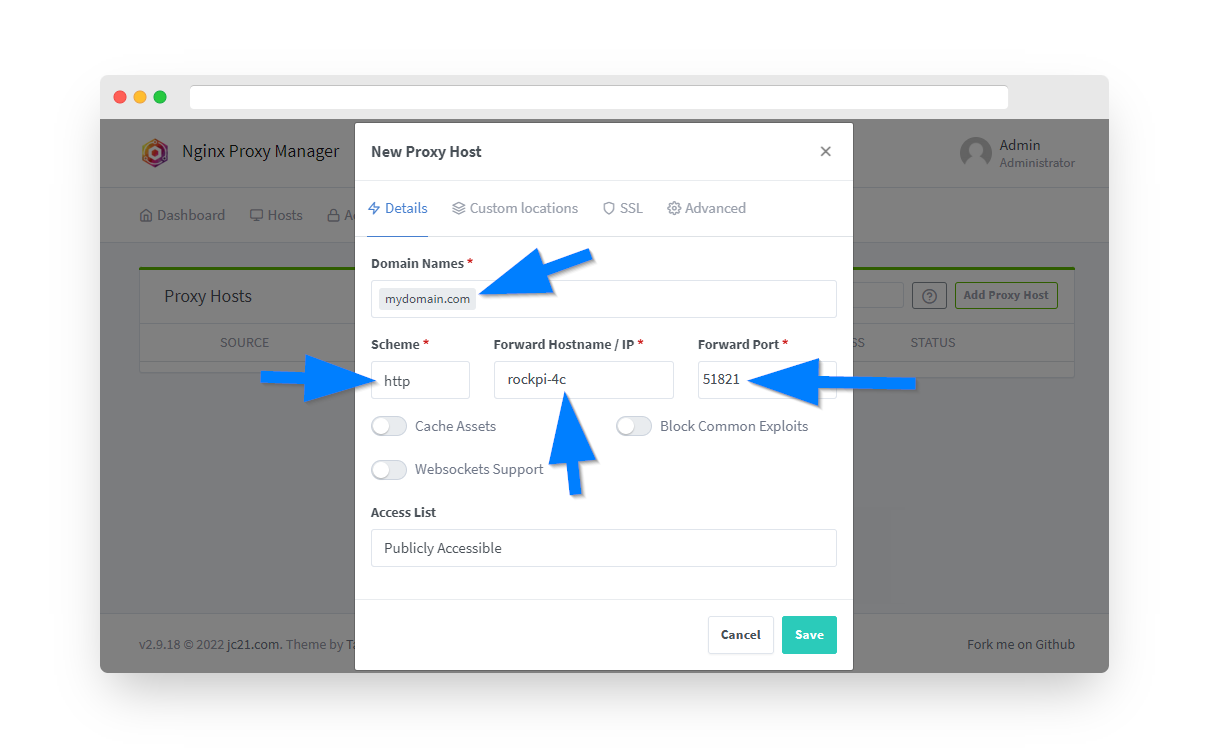
Under Domain Names enter the same domain address from your activation email that was used in the install script. For Scheme enter http and set the Forward Port to 51821. For the Forward Hostname enter wg-easy. It is possible to use the local device IP address (ie. 192.168.1.123) but we suggest using the hostname so there is no disconnection if the IP changes or you plug into a different network.
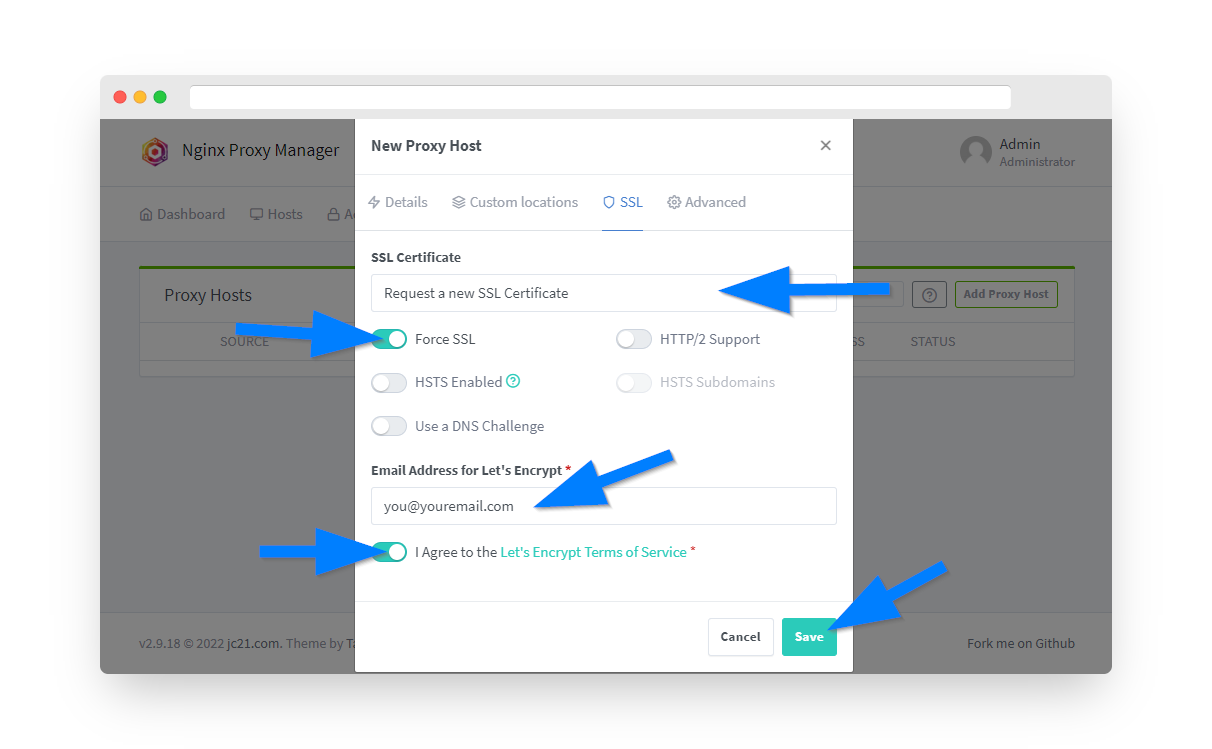
Next click the SSL tab to proceed with obtaining a free Let's Encrypt SSL certificate. Under the SSL Certificate dropdown select "Request a new SSL Certificate with Let's Encrypt". Click the "Force SSL" switch and enter an email address to register your SSL cert by with Let's Encrypt. Finally, click the "I Agree" switch on Let's Encrypt Terms and Conditions and click the save button. After a few moments you should see your new proxy host on the Nginx Proxy Manager dashboard with a green "online" status. To verify things are working open a new browser window and enter in your domain name. You should see the Wireguard panel login.
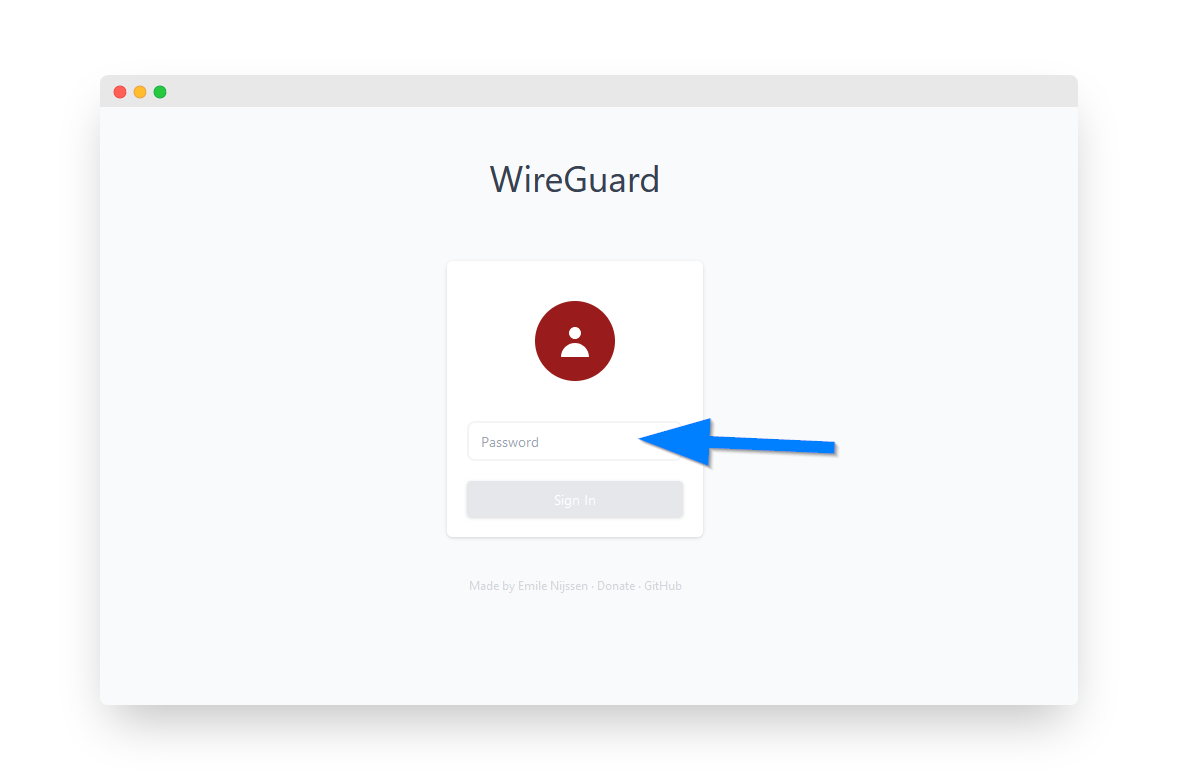
Now you are ready to add your first Wireguard remote access VPN peer. Open a web browser and navigate to your domain address that was configured in nginx proxy manager. Enter the wg-easy password that was saved after finishing the install script and click Sign In:
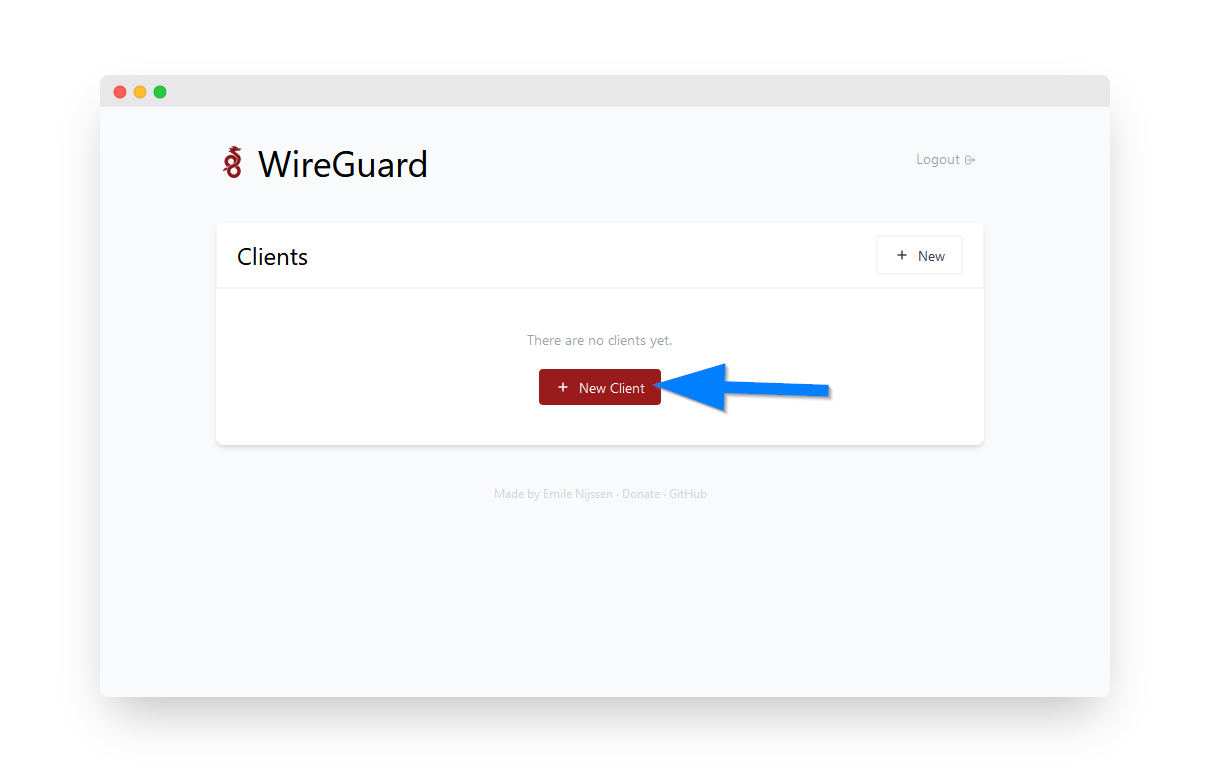
To add a new Wireguard peer click the New Client button
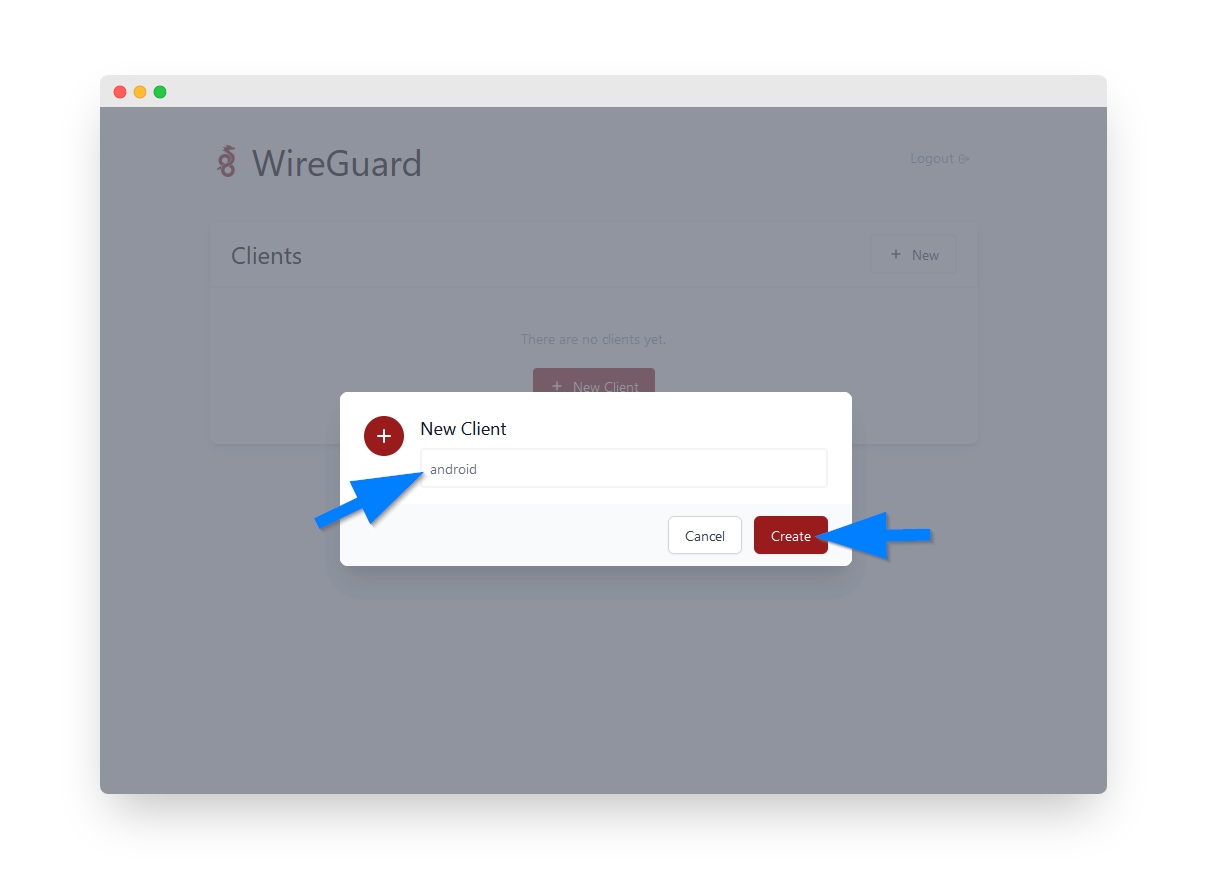
Enter a name to identify the device and click the create button:
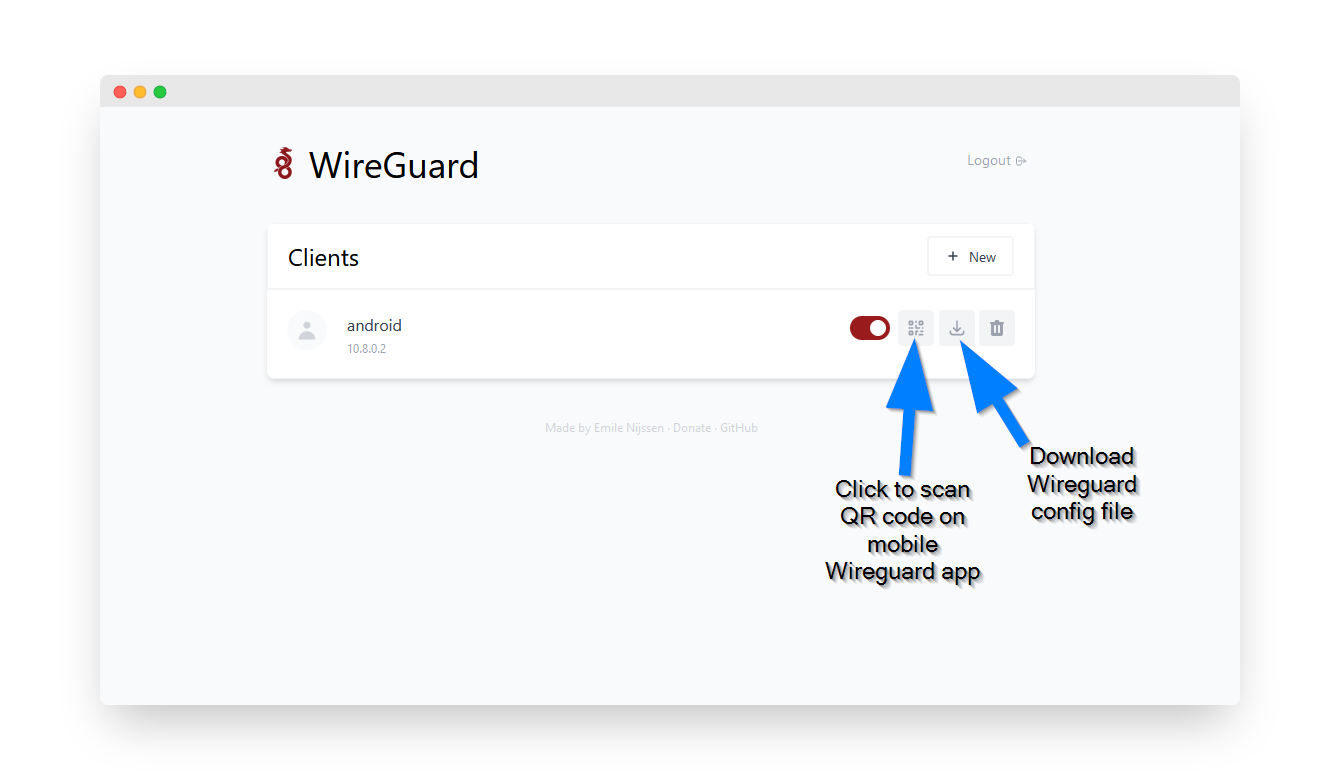
Now you are ready to connect your Wireguard peer to the remote VPN tunnel. Download and install the Wireguard client app on your mobile or desktop device. On mobile click the QR code and scan it using the Wireguard app to add the config. On Desktop download the config file and import into the Wireguard app. Click connect in the Wireguard app and your connection will now be tunneled through the remote VPN.
You can now access Pi-Hole from the Wireguard connected peer by opening a web browser and navigating to: http://pi.hole
Enter the Pi-Hole password that was generated after the install script.
